crystal light fixture how to make a beaded light bulb cover | ehow
by:EME LIGHTING
2019-10-27
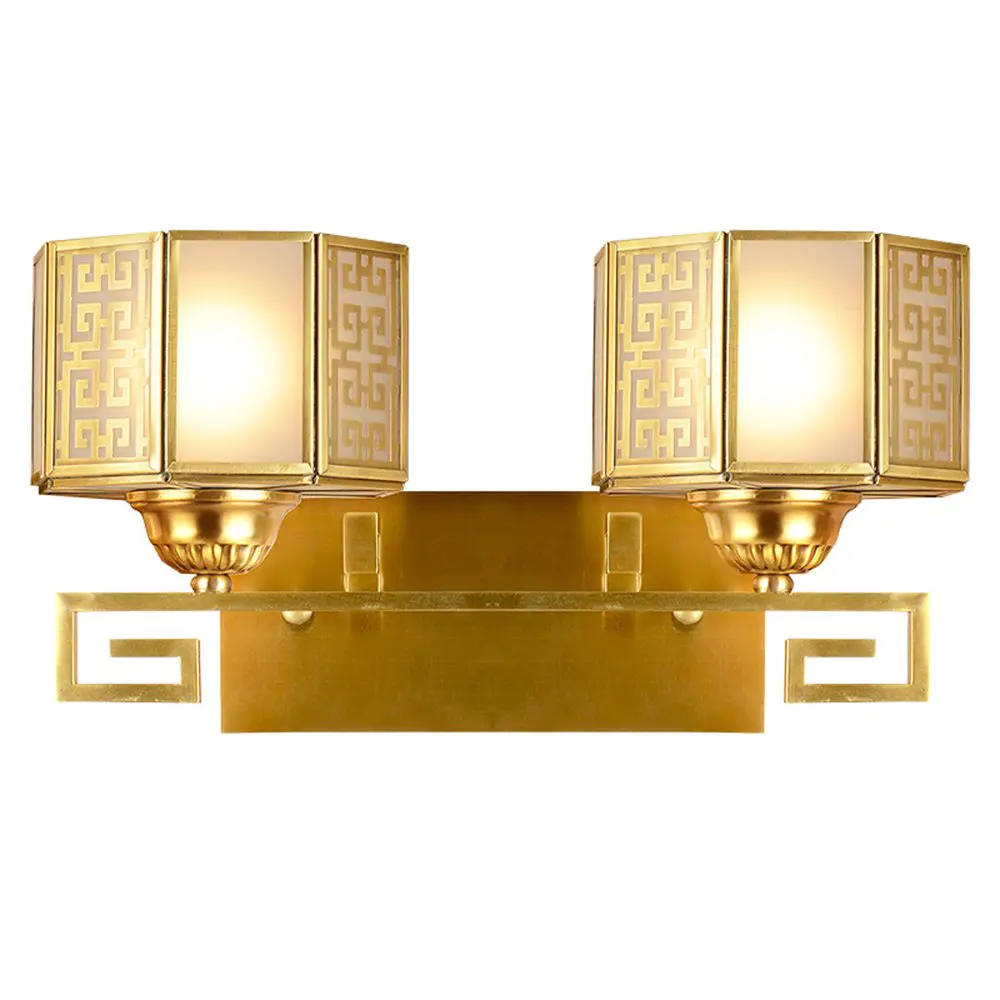
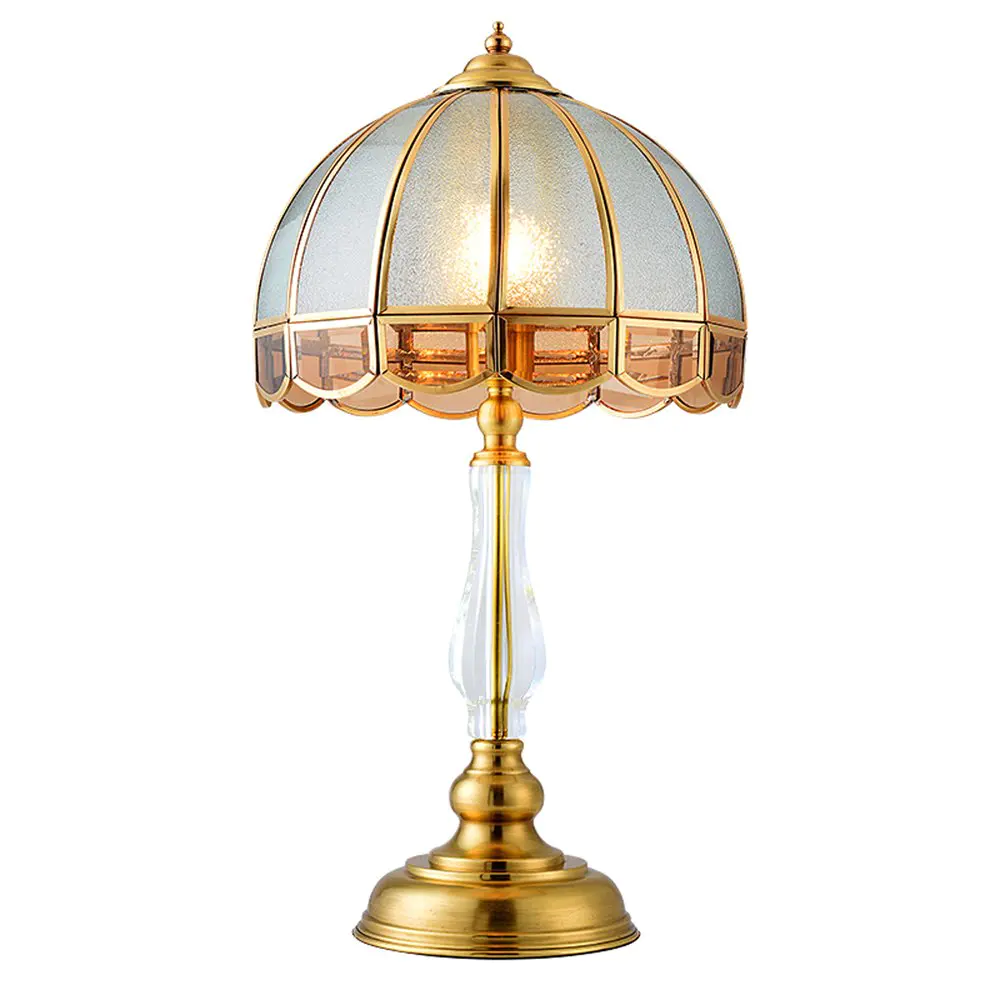
The bead cover adds to your interest in indoor lighting and softens the glare of the bare bulb.They are ideal for vintage and non-tonal fixtures.You can also make a bead mask to strengthen the chandelier.Clear and Bright-Colored beads let the brightest light through.Beads with darker colors like amber or red cast dramatic shadows and turn ordinary lights into mood lighting.While you can sometimes find vintage and new bulb covers for sale, you can get the look you want if you make it yourself.Cover the burned glass partOut bulb with thin tape;If it breaks down, you are unlikely to be cut.Place the bulb upright on a piece of polystyrene foam and trace it around the metal base of the bulb with a pencil.Cut the pencil circle on the foam with a craft knife.Three holes.As deep as the metal base of the bulb.When you work, place the base of the bulb in the polystyrene hole to keep the bulb upright.Shape 18-Measure the wire into a small circle about the size of a dime, or the size of an aspirin used for a chandelier bulb.Twist the wires together at the end to keep the shape, and use the wire cutting machine to clip the excess wires away.Wrap a cloth tape measure at the bottom of the bulb where glass meets metal.Cut a piece of 18-The specification wire is 3/4 longer than the base measurement.Grab one end of the wire with a pair of needlesPointed pliers, twist the wire into a small ring.Bend the other end of the wire at a 90 degree angle, 1/4 from the end.Make a circle of wires.Insert the curved end of the wire into the loop at the other end to close the circle.Measure from top of bulb to top of base.Cut 20-to 26-gauge wire --According to the holes in your beads-2 inch longer than your measurements.Twist one end of the wire into a ring with a needle-Pointed pliers, but don't close.Hook the ring on the larger coil and close the ring with pliers.Slide the glass beads from Step 5 to the loose end of the wire.Add the beads to the last 1/4 wire.Twist the end of the wire into a ring with a needle-nosed pliers.Hook the ring on the smaller coil and close the ring with pliers.Repeat steps 5 and 6 with extra string beads until you add enough lines to cover the bulb.From time to time, unlock the larger electrical coil and slide the bead cap onto the bulb to check the appearance and coverage of the wire.After completing the bead cover, unlock the larger electrical coil.Slide the lid onto the work light bubble and fix the circle again.Gently press the wire along the outline of the bulb.Screw the covered working bulb into the socket of the lamp or ceiling fixture.
Custom message